
How to Crop Multiple Images to the Same Ratio on a Mac
Part of the guide: Bulk background removal
A catalogue, a team page or a gallery looks better when every image has the same shape. Doing that one image at a time is slow. Here is how to think about it and how to do it in a batch.
Crop or resize?
They are not the same thing.
- Crop cuts away the edges of the picture to change its shape (for example, from 3:2 to 1:1). The subject stays at the same scale, but part of the picture is lost.
- Resize changes the pixel dimensions (for example, from 4000 to 1200 pixels wide). Nothing is cut, but if the shape changes, the picture is squashed or stretched, so keep the ratio fixed.
For consistent images you usually crop to a ratio first, then resize to the final pixel size.
Pick the ratio for where it is going
| Ratio | Common use |
|---|---|
| 1:1 | Product grids, profile photos, social posts |
| 4:3 or 3:2 | Standard photo shapes, galleries |
| 16:9 | Banners, video thumbnails, slides |
| 9:16 | Stories, vertical video |
For marketplaces and platforms, check the official image requirements, because sizes and rules change. Do not rely on a number you read in a blog post.
Keep the subject in the frame
The risk with batch cropping is that a fixed crop cuts off a head, a product edge or an off-centre subject. Two ways to avoid it:
- Auto-detect the subject and crop around it, so each image is framed on its own subject.
- Check every result before you export. In a batch of 100, some images will have the subject in an unusual place.
A batch workflow on Mac
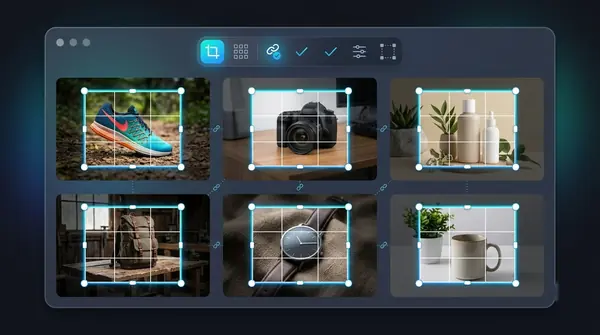
BG Remover Pro has a Crop Batch tool. It is our own app, so take that as a disclosure. It runs only on Apple Silicon Macs with macOS 14 or later.
- Drag the folder of photos into the app.
- Open Crop Batch.
- Choose Free or a ratio: Original, 1:1 Square, 4:3, 3:2, 16:9 or 9:16.
- Use Auto Detect Subject to frame each image around its subject, or adjust the crop box by hand.
- Apply to the whole batch with the apply-to-all button, or crop only the current image.
- Undo if you do not like it, then export. You can save a single image, download all as a ZIP, or save straight to a folder.
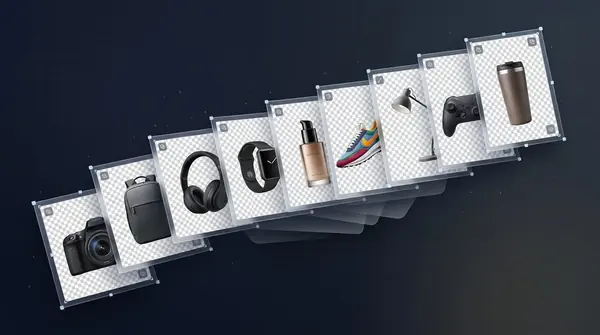
If your images also need cutouts, you can remove the backgrounds in the same session, then crop. For that workflow, see removing backgrounds from multiple images.
Common mistakes
- Cropping before checking the subject position. Look at a few images first.
- Resizing without keeping the ratio. That distorts people and products.
- Cropping the cutout too tight. Leave a margin so shadows and edges are not clipped.
- Overwriting the originals. Always export to a new folder.
Frequently asked questions
How do I crop multiple photos to the same size on a Mac?
Use a tool with batch crop. Choose one aspect ratio, apply it to every image, check that the subject is still in frame, and export to a new folder.
What is the difference between cropping and resizing?
Cropping cuts away the edges to change the shape. Resizing changes the pixel dimensions. For consistent images, crop to a ratio first and then resize.
Can the crop follow the subject?
Some tools can detect the subject and frame around it. BG Remover Pro has an Auto Detect Subject option in Crop Batch.
Which aspect ratio should I use for product photos?
1:1 is common for product grids, but check the official requirements of the marketplace or platform you sell on.

Need to do this for a whole folder?
BG Remover Pro is the Mac app we make. It removes backgrounds in bulk, on your Mac, with nothing uploaded, and you can try 20 images free. See pricing or what it does.